La mesure d'épaisseur
Activating the measurement function
To activate the thickness measurement function, you must first open the "Settings" dialog box by clicking on the "Setting definition" menu:
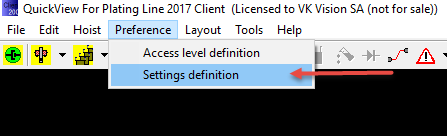
The "Settings" dialog box will be displayed:
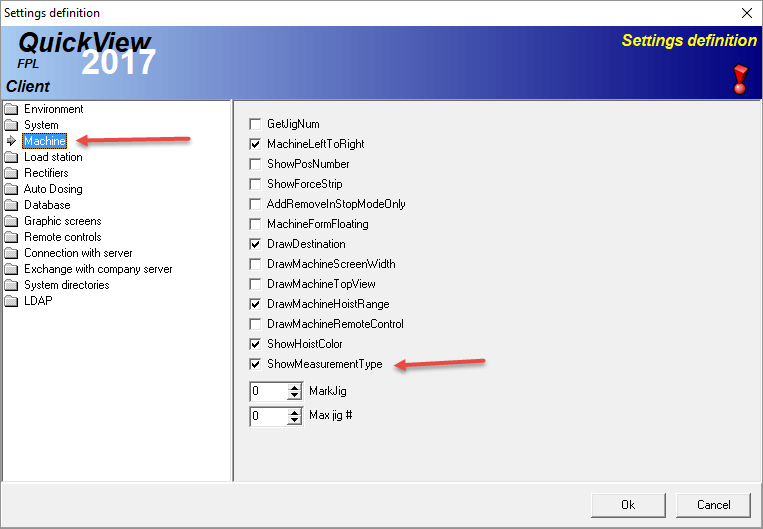
On the left panel, select "Machine" then check the "ShowMeasurementType" check box.
Defining a sequence with measurement
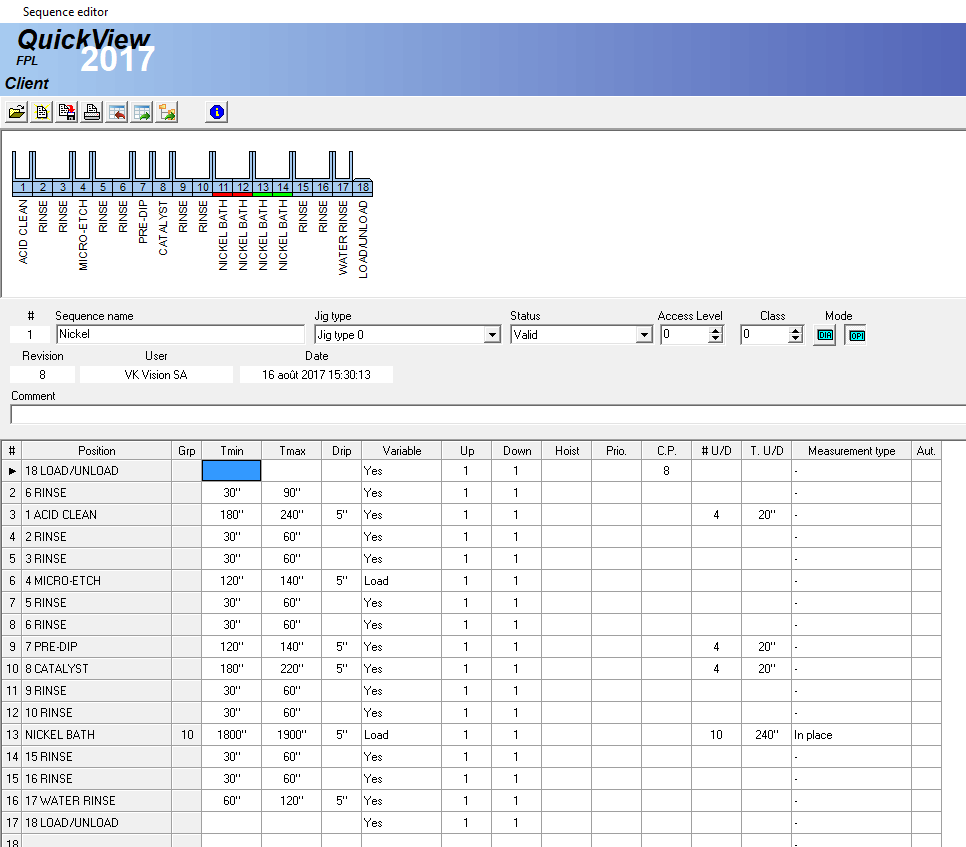
Once the "Measurement type" is activated, a new column is displayed in the sequence definition table:
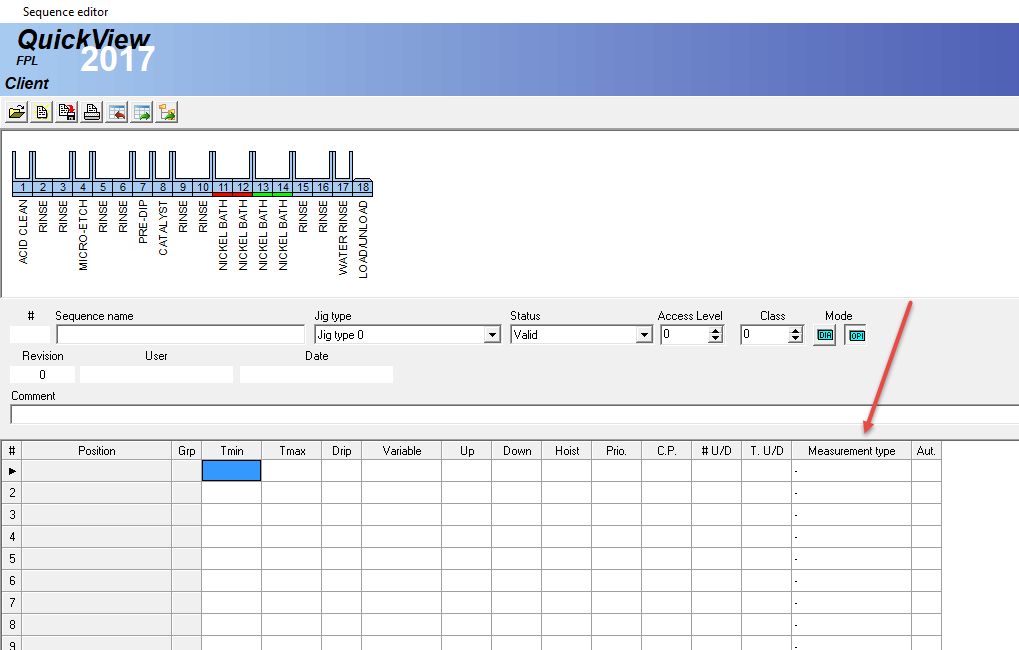
In this new column, you can select which position need a measurement. There are 3 measurement possibilities:?
-
In place: means the load stays in the tank and the measurement is done in the position.
-
On hoist: means the load is lifted by the hoist and the measurement is done on the air.
-
In measurement position: means the load is transferred to a position dedicated to measurement.
Running program with measurement
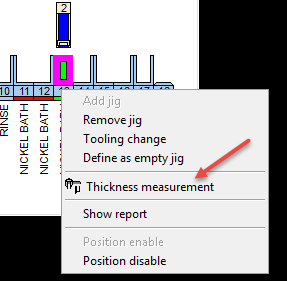
When a thickness measurement is requested, the jig requiring the measurement will be displayed in flashing fuchsia in the machine:

In order to open the measurement dialog box, you must right click on the load and select "Thickness measurement" in the popup menu:
By clicking on this command, the following dialog box will be displayed:
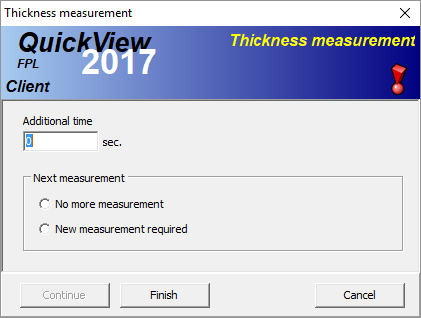
If the thickness is too low, you can enter an additional time in the corresponding field. You must also specify if, after this additional time, a new measurement is required or not. Once this 2 fields filled, the "continue" button becomes enabled. Click on "Continue" to add time or click on "Finished" to continue to the next sequence step. The "Cancel" button will only close the box.